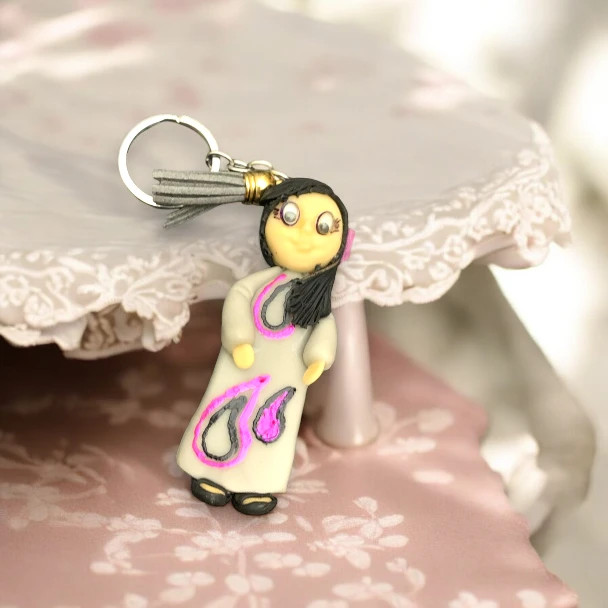
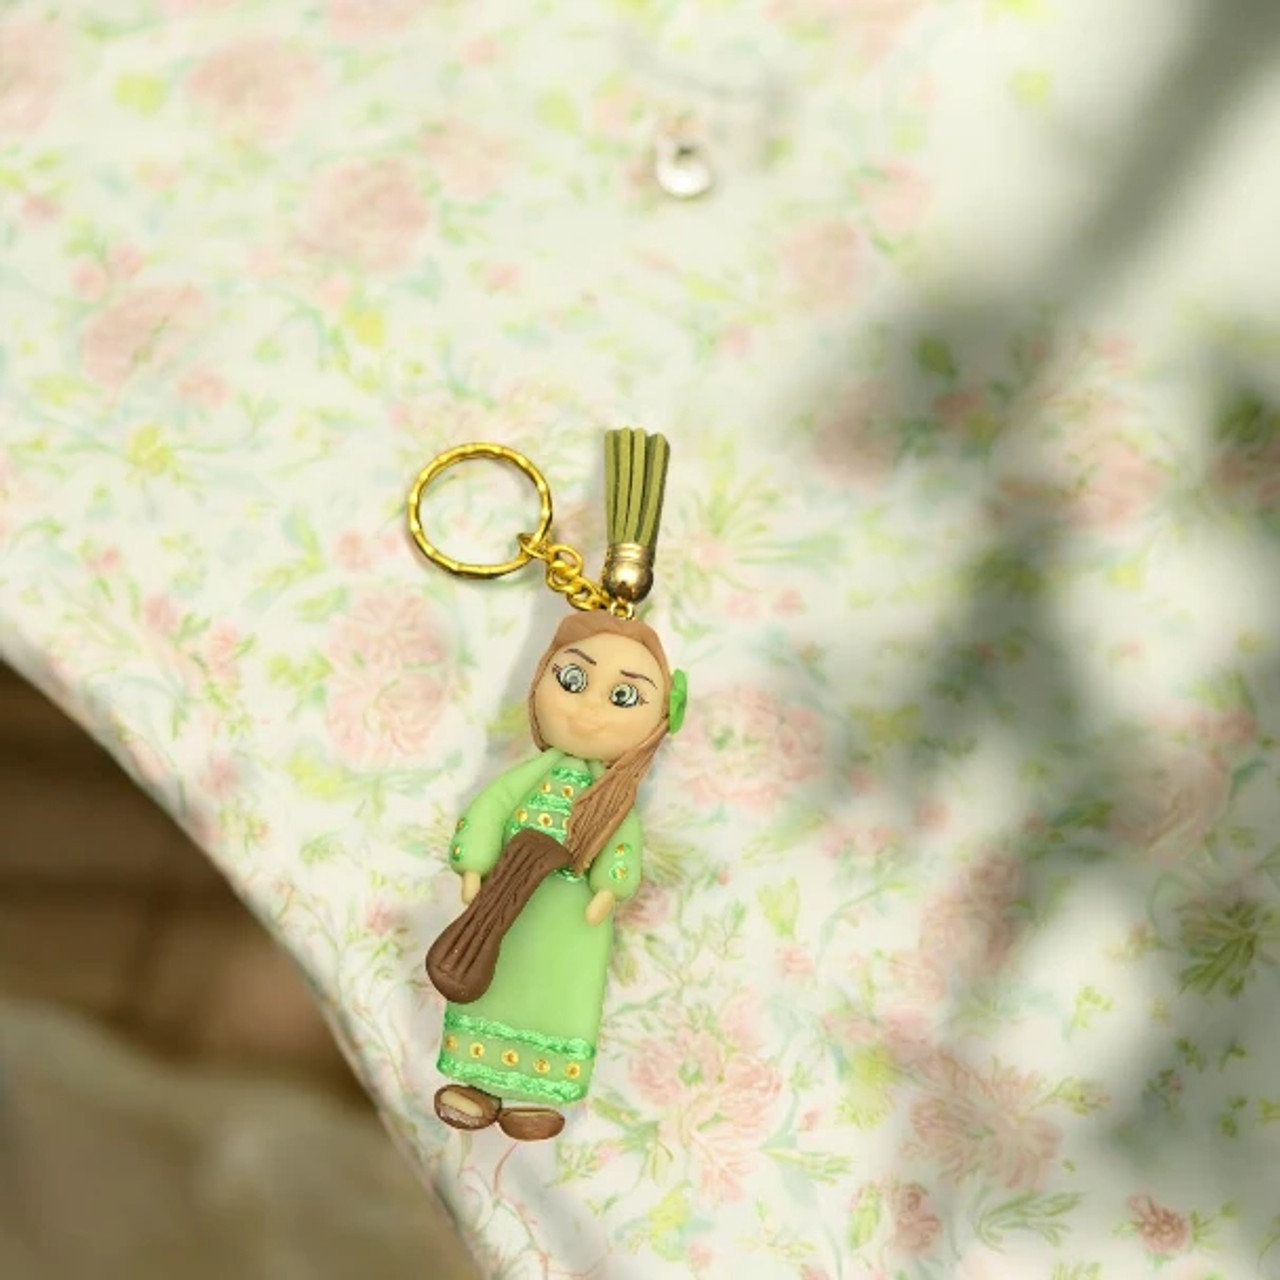
How to Make a Handmade Keychain with Polymer Clay
Introduction
Handmade keychains are a wonderful way to add a personal touch to your everyday accessories, and making them with polymer clay is both fun and easy. Polymer clay is a versatile and moldable material that can be shaped into endless designs. Whether you're a beginner or a seasoned crafter, this guide will walk you through the steps to create your own unique polymer clay keychain. So, gather your materials, and let’s get creative!
Materials Needed
- Polymer clay (in various colors)
- Keychain rings
- Rolling pin or flat surface
- Craft knife or clay cutter
- Toothpick or needle tool
- Oven (for baking clay)
- Acrylic glaze (optional for a glossy finish)
- Parchment paper or baking sheet
Step-by-Step Guide
- Choose Your Design
Decide what kind of design you'd like for your keychain. You can go for simple geometric shapes, cute animals, or abstract patterns. Sketch out your design on paper if needed to visualize the outcome. - Condition the Clay
Take small amounts of polymer clay in your chosen colors. Knead and roll the clay in your hands until it becomes soft and pliable. This process ensures that the clay is easy to mold and shape. - Shape Your Keychain
Using the rolling pin, roll out the clay to your desired thickness (usually around ¼ inch thick). You can then cut the clay into your desired shape using a craft knife or clay cutters. If you're creating a character or layered design, stack different colors and parts on top of each other. - Add the Keychain Hole
Use a toothpick or needle tool to make a hole at the top of the clay piece where the keychain ring will attach. Be sure to make the hole large enough for the ring to fit once the clay is baked. - Bake the Clay
Preheat your oven according to the instructions on the polymer clay packaging (typically around 265°F to 275°F). Place your clay design on a parchment-lined baking sheet and bake it for the recommended time, usually 15-30 minutes depending on the size of your keychain. - Let it Cool
Once baked, carefully remove the clay from the oven and let it cool completely. The clay will harden as it cools, giving you a durable keychain. - Optional: Glaze for Shine
If you'd like your keychain to have a glossy finish, you can apply an acrylic glaze. Simply brush the glaze onto the cooled clay and let it dry. This will also protect your design and make it more resistant to scratches. - Attach the Keychain Ring
Once the clay is completely cool and dry, you can attach the keychain ring through the hole you made earlier. Make sure it’s securely fastened, and your handmade polymer clay keychain is ready to use or gift!
Conclusion
Creating handmade keychains with polymer clay is an enjoyable and rewarding project. You can make personalized gifts, unique accessories, or even start selling your creations. With endless design possibilities, polymer clay keychains offer a fun way to express your creativity. Happy crafting!
Recent Posts
-
Sustainable Splendor: The Eco-Friendly Soul of Handcrafted Art
In an era of fast fashion and mass-produced home decor, the environmental cost of our "stuff" has ne …31st Dec 2025 -
The Art of Diplomacy: Why Handcrafted Heritage is the Language of Dubai’s Protocol
In the world of international relations and government protocol, a gift is never "just a gift." It i …31st Dec 2025 -
The Psychology of Appreciation: Using Bespoke Art to Retain Top Talent in Dubai
In the high-speed corporate environment of Dubai, where the global hunt for talent is relentless, a …31st Dec 2025


